Do all stage 2 pressure areas look the same?
No. As you will see in the examples provided here, pressure areas can look quite different depending on the location and skin colour. However, all stage 2 pressure areas have the same characteristics.
Click on each example and review the photos to see:
- a partial thickness skin loss
- how the area looks like an abrasion, blister or shallow crater.
 Example A
This photo shows changes to skin colour over a wide area, with an abrasion near the top of the sacrum, which is evidence of skin breakage. This means it is a stage 2 pressure area. This picture demonstrates the development of a pressure area caused by a person lying on their back for a long time. Image courtesy R. Martin.
 Example B
This photo shows how a pressure area can occur on a toe due to ill fitting shoes, or pressure being applied to the toe from being pressed up against a surface for a period of time (for example, the toe may be pressed against a foot rest or a wheelchair support). Image courtesy P. Morey.
 Example C
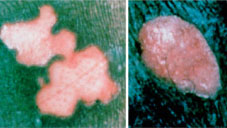
These are stage 2 pressure areas presenting as an abrasion, crater or sore in darker skin. In darker skin, changes are quite marked, due to skin breaks. The wound on the left is a new injury, as it is pink and shiny. The wound on the right is an older healing injury. Note changes in colour at the margin, as the epidermis begins to epithelialise across the wound. Image courtesy NPUAP.
 Example D
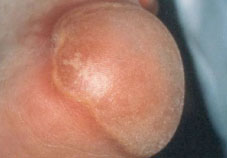
This shows a stage 2 pressure area presenting as a blister. All blisters are categorised as stage 2. Image courtesy S. Abbotts.
Click on the Next button to continue.